How to Paint Your Garage Floor Like a Pro
by James
Are you tired of looking at a dull, stained garage floor? Painting your garage floor is a great way to transform the space and give it a fresh, clean look. Not only does it improve the appearance of your garage, but it also protects the concrete from wear and tear, making it easier to clean and maintain.
Why Paint Your Garage Floor?
Painting your garage floor offers several benefits that go beyond just aesthetics. Here's why you should consider giving your garage floor a makeover
-
Improved Appearance: An unpainted concrete floor can look plain and unattractive. By adding a fresh coat of paint, you can instantly upgrade the overall look of your garage and make it a more inviting space.
-
Protection for Your Concrete: Concrete is durable, but it is still susceptible to damage from chemicals, oil spills, and general wear and tear. A layer of paint acts as a barrier, protecting the concrete from such damage and extending its lifespan.
-
Easier Cleaning: A painted garage floor is much easier to clean than raw concrete. Any spills or stains can be wiped away effortlessly, making maintenance a breeze.
What You'll Need
 Before you dive into the painting process, it's essential to gather all the necessary supplies. Here's what you'll need.
-
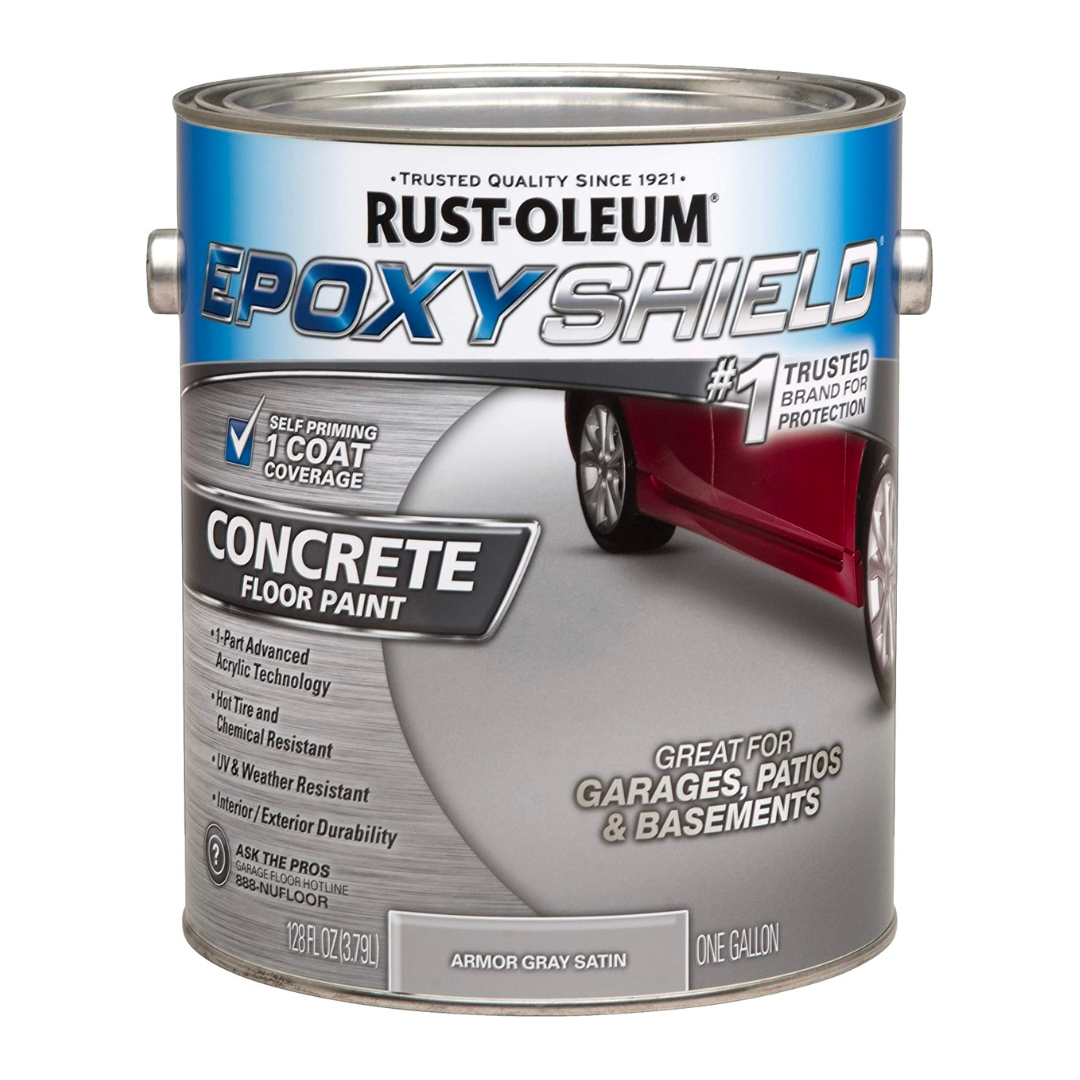
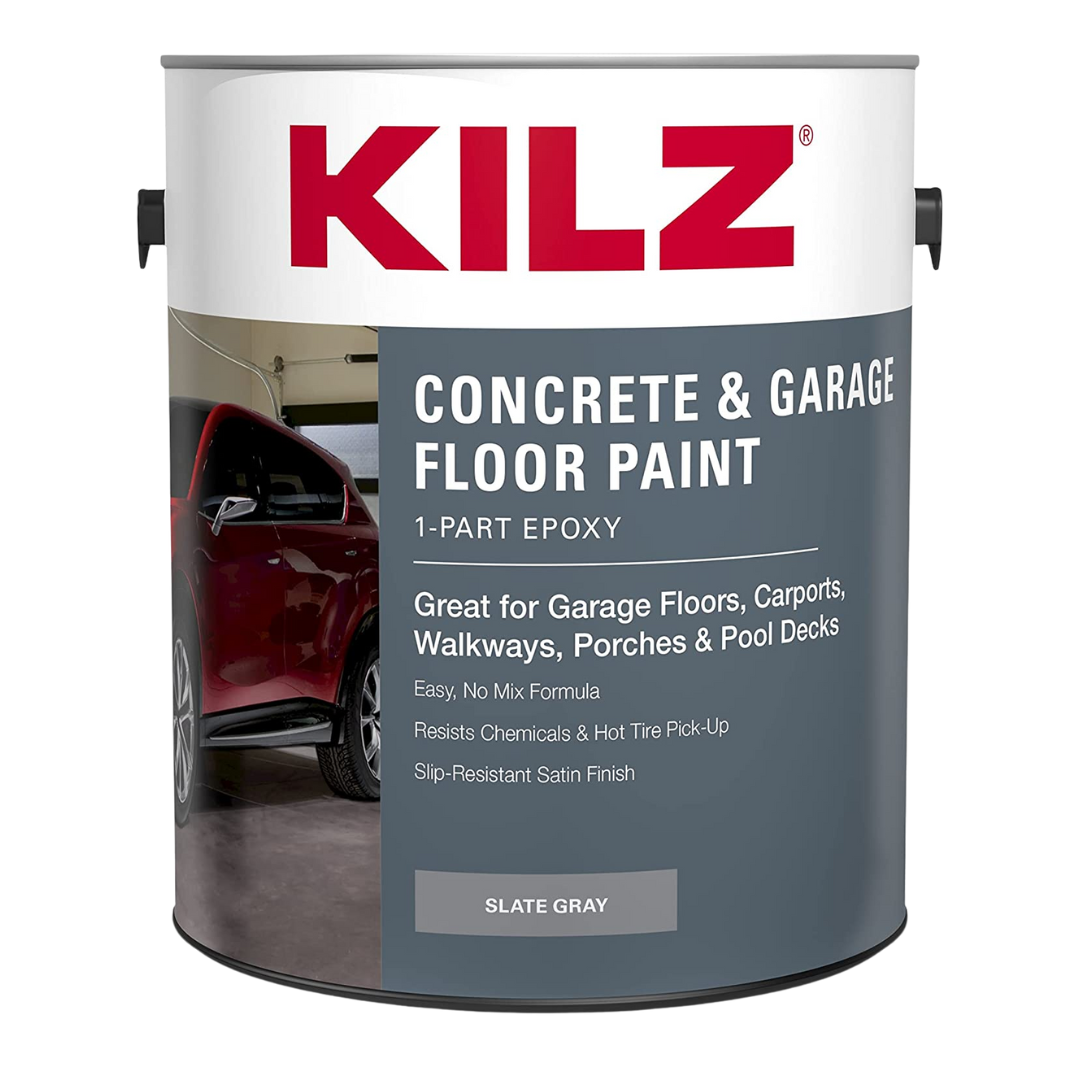
Concrete Paint: Choose a high-quality concrete paint that suits your garage's needs and complements your desired aesthetics.
-
Primer (Optional): While not always necessary, using a primer can enhance the paint's adhesion and improve the longevity of the paint job.
-
Paint Roller: A paint roller will help you achieve a smooth and even application of paint.
-
Paint Tray: Pour the paint into a paint tray for easy access while you work.
-
Paintbrush: Use a paintbrush to paint along the edges and corners of the garage floor.
-
Safety Gear: Don't forget to wear safety goggles and gloves to protect yourself during the painting process.
With all your supplies at the ready, it's time to start the transformation of your garage floor.
Before proceeding, make sure you have thoroughly cleaned the garage floor and removed any dust, dirt, or oil stains. This will ensure the paint adheres properly and lasts longer.
Preparing the Concrete Floor for Painting
Cleaning the Floor
The first step in preparing your garage floor for painting is to clean it thoroughly. Follow these simple steps to get started:
-
Sweep or Vacuum the Floor: Remove any loose dirt and debris by sweeping or vacuuming the entire garage floor.
-
Rinse the Floor: Once the loose dirt is gone, rinse the floor with water to remove any remaining dust or debris.
Etching the Floor (Optional)
If you want to ensure a better bond between the paint and the concrete, you can consider etching the floor. Follow these steps:
-
Apply an Etching Solution: Purchase a concrete etching solution and apply it evenly across the floor. This will create a slightly roughened surface, allowing the paint to adhere better.
-
Allow Drying: Let the etching solution dry completely before moving on to the next steps.
Priming the Floor (Optional)
While not mandatory, applying a primer can further enhance the paint's adhesion and durability. Here's how to proceed:
-
Apply Primer: Use a roller or brush to apply a coat of primer on the garage floor.
-
Allow Drying: Allow the primer to dry completely according to the manufacturer's instructions.
Applying the Paint
Choosing the Right Paint
When selecting the paint for your garage floor, consider the type of traffic it will experience. If you have heavy vehicles or high foot traffic, opt for a durable, high-quality concrete paint. Choose a paint that is specifically designed for concrete floors to ensure the best results.
Applying the Paint
Now comes the exciting part - painting your garage floor! Follow these steps for a successful application:
-
Start with Edges: Begin by using a paintbrush to paint along the edges of the floor, where the roller may not reach easily.
-
Use a Roller: Once the edges are done, use a paint roller to apply the paint evenly across the rest of the floor. Make long, smooth strokes for a seamless finish.
-
Apply Two Coats: For the best coverage and durability, apply two coats of paint. Allow each coat to dry completely before adding the next.
Now that your garage floor has a fresh new look, you can take it a step further by adding some decorative elements and taking care of its maintenance.
Finishing Touches
Adding Decorative Elements
To give your garage floor a unique touch and extra protection, consider adding decorative elements such as flakes or chips. These decorative additives not only enhance the appearance of your garage but also provide an additional layer of durability to the paint.
Cleaning and Maintenance
To keep your newly painted garage floor in pristine condition, follow these cleaning and maintenance tips:
-
Regular Sweeping or Vacuuming: Sweep or vacuum the floor regularly to remove dust, dirt, and debris.
-
Occasional Rinsing: Occasionally rinse the floor with water to clean up any spills or stains.
-
Avoid Harsh Chemicals: Avoid using harsh chemicals or abrasive cleaners on the painted surface, as they can damage the paint.
With proper care, your painted garage floor will maintain its beauty and functionality for years to come.
Now that you've successfully painted your garage floor like a pro and added those finishing touches, it's time to move on to the next section of the article, where we'll delve into more detailed tips and tricks for maintaining your painted garage floor. Stay tuned!
Preparing the Concrete Floor for Painting
Before you start painting your garage floor, it's crucial to properly prepare the concrete surface to ensure the paint adheres well and lasts longer. In this section, we'll walk you through the essential steps of cleaning, etching (optional), and priming (optional) your garage floor.
Cleaning the Floor
The first step in preparing your concrete floor for painting is to thoroughly clean it. A clean surface is essential for the paint to adhere properly and create a smooth, professional finish. Follow these steps to clean your garage floor effectively:
-
Sweep or Vacuum: Begin by sweeping or vacuuming the entire garage floor to remove loose dirt, dust, and debris. Pay close attention to corners and edges, where dirt tends to accumulate.
-
Rinse with Water: Once the loose dirt is cleared, use a hose or a bucket of water to rinse the floor and get rid of any remaining dirt or debris. You can use a scrub brush or a stiff broom to help loosen any stubborn stains.
-
Remove Oil Stains: If there are any oil stains on the floor, consider using a degreaser to break down the oil. Scrub the affected areas and rinse them thoroughly to ensure the oil is entirely removed.
Etching the Floor (Optional)
While not mandatory, etching the concrete floor can significantly improve the paint's adhesion, especially if you have a smooth or sealed concrete surface. Etching creates a slightly roughened texture, allowing the paint to bond better with the floor. Here's how to proceed with etching (if desired):
-
Choose an Etching Solution: Purchase a concrete etching solution from your local hardware store. Make sure to follow the manufacturer's instructions on how to use it.
-
Protect Yourself: Before applying the etching solution, put on safety goggles and gloves to protect your eyes and skin.
-
Apply the Etching Solution: Pour the etching solution into a plastic watering can or sprayer and evenly distribute it across the garage floor. Use a stiff bristle brush to scrub the solution into the concrete surface.
-
Allow Drying: Let the etching solution sit for the recommended time, typically about 20 to 30 minutes, or as instructed by the product manufacturer.
-
Rinse Thoroughly: After the recommended time has passed, thoroughly rinse the garage floor with water to remove the etching solution entirely. Ensure that no residue remains on the concrete.
Priming the Floor (Optional)
Priming the concrete floor is an optional step, but it can provide additional benefits, especially if your garage experiences heavy traffic or if the concrete is porous. Priming creates a barrier between the concrete and the paint, resulting in better adhesion and a more even paint job. Here's how to prime the floor (if desired):
-
Choose a Concrete Primer: Select a high-quality concrete primer that is compatible with the type of paint you'll be using. Check the product label for specific instructions.
-
Apply the Primer: Use a paint roller or brush to apply an even coat of primer on the clean and etched (if applicable) garage floor.
-
Allow Drying: Let the primer dry completely, following the recommended drying time mentioned on the product label.
Now that your garage floor is clean, etched (if desired), and primed (if applicable), you are ready to move on to the exciting part - applying the paint and transforming your garage floor into a beautiful, durable space. We'll cover this in detail in the next section.
Applying the Paint
Now that your garage floor is clean, etched (if desired), and primed (if applicable), it's time to dive into the exciting part of the process - applying the paint! In this section, we'll guide you through choosing the right paint and the step-by-step process of applying it to achieve a flawless and long-lasting finish.
Choosing the Right Paint
Selecting the appropriate paint for your garage floor is crucial to ensure the best results and longevity.
How to Paint a Garage Floor Here are some essential factors to consider when choosing the right paint:
-
Traffic Type: Consider the type of traffic your garage floor will experience. If you have heavy vehicles, such as cars or trucks, going in and out, opt for a durable, heavy-duty paint that can withstand the weight and constant movement.
-
Concrete-Specific Paint: Ensure you choose a paint that is specifically designed for concrete floors. Regular wall paint or other types of paint are not suitable for garage floors and may not adhere properly.
-
Finish and Aesthetics: Decide on the desired finish and aesthetics of your garage floor. You can choose from a variety of finishes, including glossy, matte, or semi-gloss, depending on your preference.
-
Color Options: Most concrete paints come in a wide range of colors, allowing you to select the one that complements your garage's overall theme and design.
Applying the Paint
Now that you have the perfect paint for your garage floor, it's time to apply it and transform the space into something truly remarkable. Follow these steps for a successful painting process:
-
Start with Edges: Begin by using a paintbrush to carefully apply the paint to the edges and corners of the garage floor. This technique ensures that you don't miss any spots along the perimeter.
-
Use a Paint Roller: Once the edges are done, switch to a paint roller for the larger, open areas. Dip the roller into the paint tray and roll it evenly to remove excess paint.
-
Apply Even Coats: Use smooth and steady strokes with the roller to apply an even coat of paint to the entire garage floor. Avoid overlapping strokes to prevent visible lines or uneven patches.
-
Allow Drying Time: After the first coat is applied, allow it to dry completely according to the paint manufacturer's instructions. This may take a few hours, depending on the paint type and environmental conditions.
-
Apply the Second Coat: Once the first coat is dry, apply a second coat of paint following the same technique. The second coat ensures better coverage and durability.
-
Final Drying Period: Allow the second coat to dry thoroughly before walking on the newly painted floor or moving any items back into the garage. This may take around 24 to 48 hours, depending on the paint used.
Congratulations! You have successfully painted your garage floor and taken the first step towards creating a beautiful, functional space. But before you finish, there are some finishing touches you can add to elevate the appearance and ensure the longevity of your newly painted garage floor.
Finishing Touches
Congratulations on successfully painting your garage floor! But we're not done just yet. In this section, we'll explore some finishing touches that can take your newly painted floor to the next level. Adding decorative elements and implementing a proper cleaning and maintenance routine will not only enhance the aesthetics but also ensure the longevity of your garage floor.
Adding Decorative Elements
One way to make your garage floor truly unique and add a personal touch is by incorporating decorative elements. Here are some popular options to consider:
-
Flakes or Chips: Decorative flakes or chips are available in various colors and sizes. You can sprinkle them over the wet paint to create a speckled effect. These flakes not only add a visually appealing aspect to your garage floor but also provide additional protection to the paint from everyday wear and tear.
-
Stencils or Patterns: If you have a creative flair, stencils or patterns can be an excellent way to add a custom design to your garage floor. From simple geometric shapes to intricate motifs, the possibilities are endless.
-
Stamps or Imprints: For a more rustic or artistic look, consider using stamps or imprints to create textured patterns on the painted surface. Stamps designed for concrete can be found at home improvement stores.
Remember, the key to using decorative elements is to ensure they are applied while the paint is still wet, allowing them to adhere properly.
Cleaning and Maintenance
To keep your newly painted garage floor looking pristine for years to come, regular cleaning and maintenance are essential. Follow these tips to ensure your garage floor stays in top shape:
-
Sweep or Vacuum Regularly: Sweep or use a vacuum with a hard floor setting to remove dirt, dust, and debris regularly. This prevents scratches and maintains the floor's appearance.
-
Occasional Water Rinse: Every once in a while, give your garage floor a thorough water rinse to remove any spills, stains, or accumulated grime. Use a hose or a pressure washer, if available, for best results.
-
Avoid Harsh Chemicals: While painted garage floors are more resilient, it's still best to avoid using harsh chemicals or abrasive cleaners. Stick to mild, concrete-friendly cleaning solutions.
-
Address Stains Promptly: If you notice any stains, attend to them immediately to prevent them from becoming stubborn and difficult to remove.
-
Reapply Sealer (if applicable): If you used a sealant along with the paint, consider reapplying it every few years or as needed to maintain its protective properties.
By following these cleaning and maintenance tips, your garage floor will continue to look impressive and well-maintained, even with regular use.
You've come a long way in transforming your garage floor into a beautiful and functional space. But before we conclude, let's look at the final section, where we summarize the steps and offer some encouragement to our readers.
Conclusion
Congratulations! You've reached the conclusion of our comprehensive guide on how to paint your garage floor like a pro. By following the step-by-step instructions and valuable tips provided in each section, you are well-equipped to create a stunning and durable garage floor that will stand the test of time. Let's recap the essential points covered in each section:
With all the steps and tips provided, you now have the knowledge and tools to embark on your garage floor painting journey. Don't hesitate to start the transformation today and enjoy the benefits of a fresh, attractive, and easy-to-maintain garage space.
Remember, preparation is the key to success in any painting project. Take the time to clean and prime your garage floor adequately, choose the right paint, and add some decorative touches for a personal touch. Lastly, maintain your garage floor with regular cleaning to ensure its longevity.
So go ahead, get creative, and turn your garage floor into an eye-catching masterpiece that will impress everyone who enters your garage. Happy painting!